You stream Battlefield on a regular basis. You want to let people check our your current and/or permanent stats in your live stream’s chat. But since you already set up Nightbot, Streamlabs Cloudbot or the StreamElements chatbot, you don’t want to add yet another chat bot to your channel. And you don’t need to: statbits.io let’s you easily add Battlefield stats commands to any of these chatbots. statbits provides easy access to both live and permanent stats for Battlefield 2, Battlefield 3 and Battlefield 4 (as well as some non-Battlefield games, statbits.io/#games).
Let’s set it up
Setting up the commands you want is pretty easy, thanks to the command builder, which will guide you through the entire process. This guide assumes that you already have Nightbot, Streamlabs Cloudbot or the StreamElements set up.
Step 1: Open up the statbits command builder in a new tab.

Step 2: Select both your chatbot and the game you want to create a command for.
Step 3: Select the relevant source and platform.
Selecting the platform should be easy. Sources, however, require some explanation. For statbits, “sources” represent different sources to pull data from. We will create a Battlefield 4 command that shows off a summary of our current, in-round stats in this example. Thus, we need to select the “Live” source. For permanent stats we would select “Stats”. You can find out more about what sources statbits provides and uses by clicking on “What are sources?” or by visiting the documentation directly.
Step 4: Provide your player id and name.
Avoid any typos here, since these values need to be an exact match. Otherwise, statbits will not be able to find your stats. If you don’t have your player id handy and don’t know where to find it, click “How to find” above the player id field. The link changes dynamically based on the game you selected. Regardless of which game you selected, it will lead you directly to the relevant part of the documentation on how to find your player id.
Step 5: Select the language in which you want statbits to provide message.
The language you select here will be used for the final message you and your viewers see in chat. statbits currently supports English, German, Spanish, French, Italian and Portuguese.
Step 6: Select the template you want to use.
The template determines both the wording of and the stats contained in the final message. If you want to find out what the message is going to say, take a look at the relevant documentation. In this example, we are going to select the “summary” template. It will give us a nice overview of how we are performing in the current round:
{{name}} currently has {{value.score}} points, {{value.kills}} kills, died {{value.deaths}} times and plays with {{value.ping}}ms ping
Step 7: Click “Build command” and then “Copy to clipboard”.
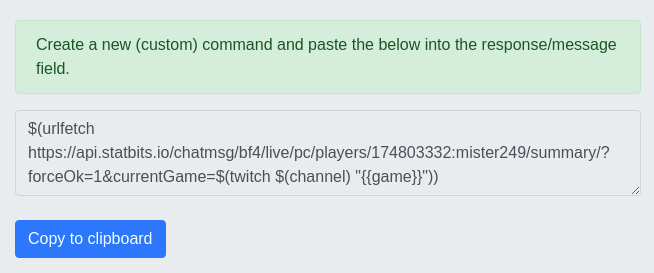
The command builder will generate a command based on your inputs and output it below. Manually copy the command or simply click “Copy to clipboard”.

Step 8: Open the settings for your chatbot and create a new custom command.
Give the command a fitting name. In this example, we are going to call it !rndstats.
Step 9: Paste the command into the response/message field.
You don’t need to add anything else to the message. statbits always returns a complete message containing the statistics which is generated based on the selected template. Set up the remaining options for the command however you like (access level, timeout etc.).
Step 10: Save your new command.
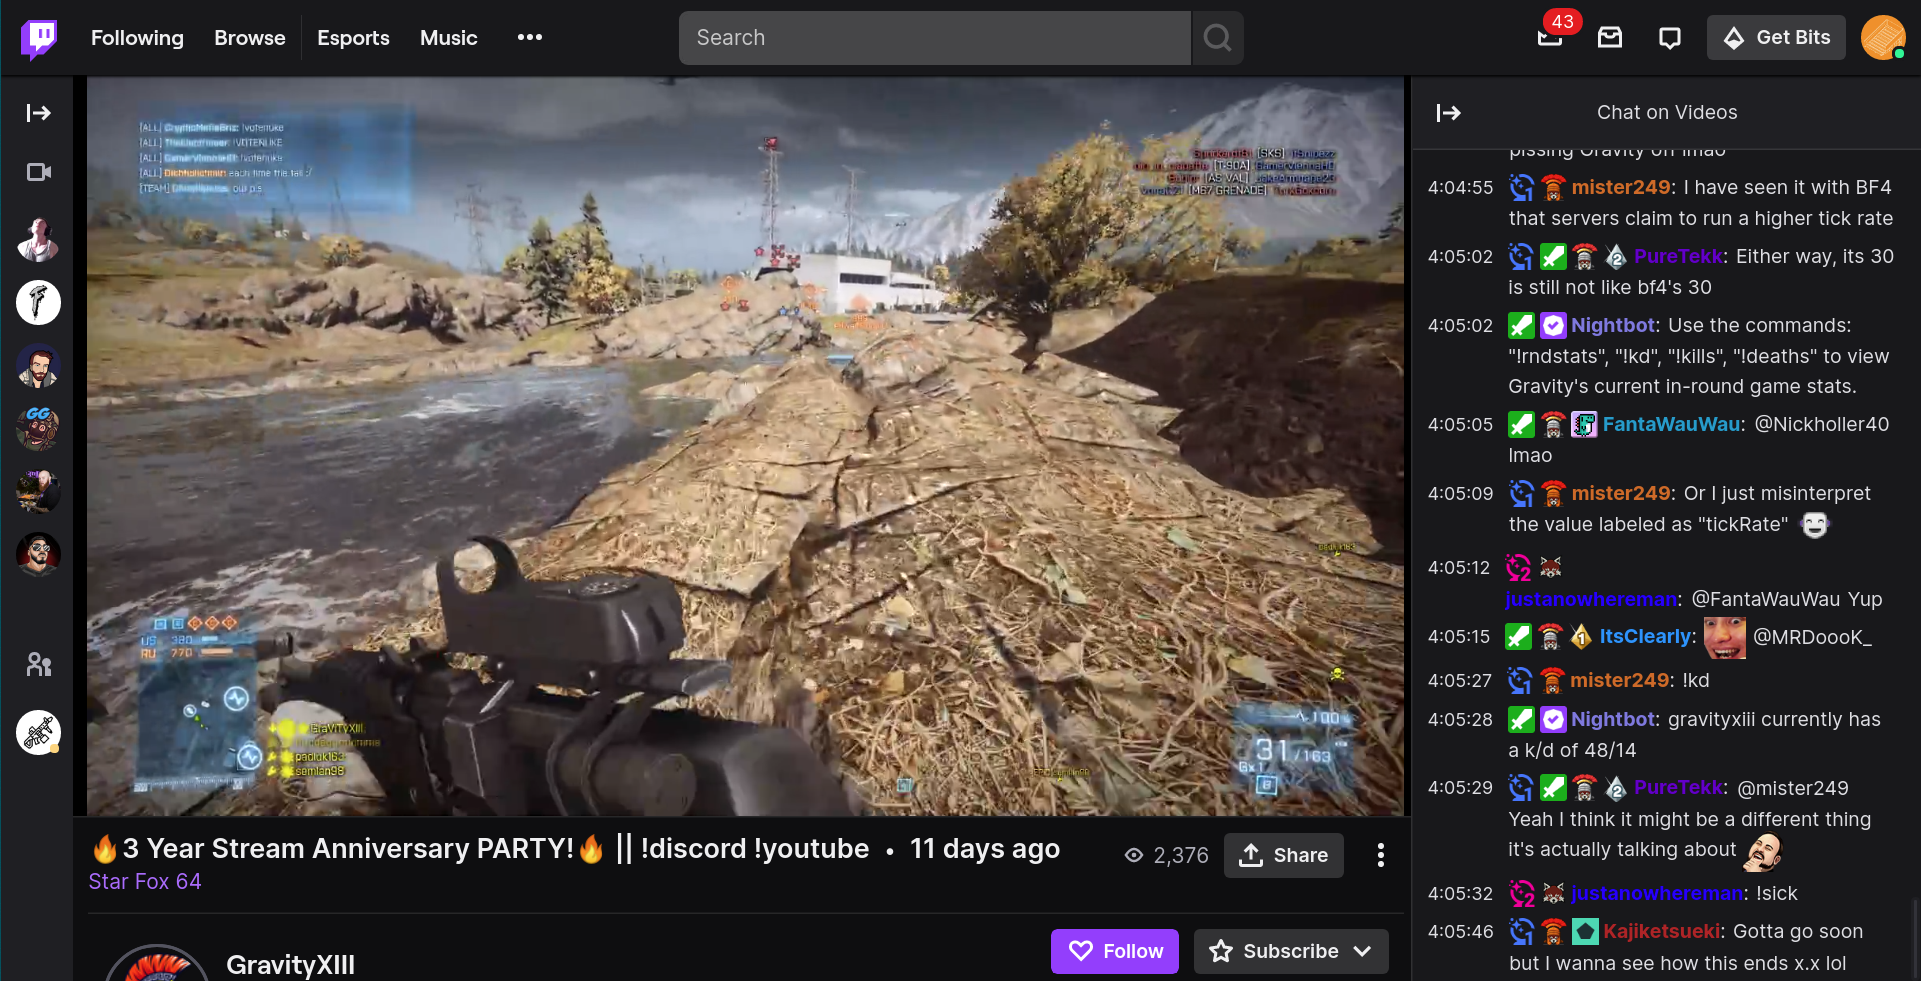
That completes the setup, so it is now time to test the new command. Since we set up a command that uses live data in this example, we need to open up the game and join a server in order to test it.
And we’re done.
That’s it! You just enabled to your viewers to check out your Battlefield stats – without having to leave Twitch chat. If you want to add more commands, simply repeat the process for a different game or using a different template. Remember to click “Build command” each time before you copy the command to your chatbot.

Advanced options
You may have noticed that we did not (yet) cover some of the options you see in the command builder. Most of them are not required for a basic setup. Instead, they enable you more control over the chat message once you got the basics covered.
Objects
Next to the “Template”-field, you probably noticed a field called “Object” that was grayed out in our example. However, the field is enabled once you select a “generic” template. Such templates can provide statistics for multiple objects in a game. In Battlefield 4 for example, you would use the same generic template for stats on all weapons in the game. Simply select a generic template such as “weapon-summary” from the Battlefield 4 “Stats” source. Now, you can select a weapon from the dropdown.
Custom error message
This options is fairly self-explanatory. Using this field, you can provide a custom error message. If something goes wrong while statsbits is trying to fetch your statistics, your custom error message will be returned instead of the default message.
Use Twitch channel name in message
Your Twitch channel name might be different from your in-game name. If you check this option, statbits will use your Twitch channel name in the message.
Questions?
If you have any questions about these commands or about statbits in general, head over to the statbits Discord.


